Welcome to CS! These instructions will help you get your computer set up for the class. Use these instructions if you didn’t take Shuyuan CS, or if you have a new computer. This guide will require the admin password of your computer.
If you get stuck or are unsure what to do, first check out the debugging section at the bottom of the page. If you are still encountering an error, please send a screenshot of your error to Ms. Brown ebrown@isf.edu.hk or Ms. Genzlinger bgenzlinger@isf.edu.hk.
This is the editor that you will use to write your code.
(0) Download and Install.Open this link, click “Download for macOS,” or click on “other plaforms” to choose your operating system. Follow the installation instructions.
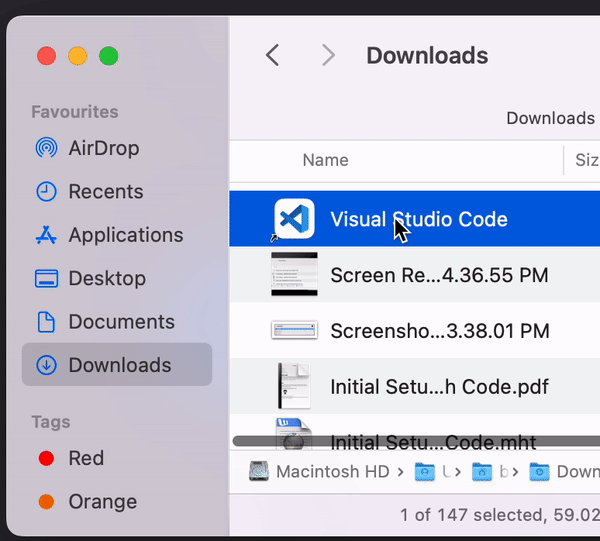
(1) Drag to Applications Folder. Open up the Finder application on your Mac. On the left hand side, click on Downloads. Drag Visual Studio Code to the folder named Applications.
(2) Install Shell Commands. Open up your freshly installed Visual Studio Code application. From the top menu, select View > Command Pallete.
In the prompt, type Shell Commands and click on the first option to install the code command in your PATH.
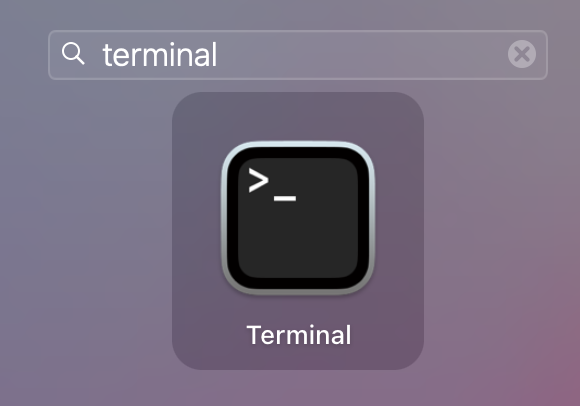
For most of the remaining setup, you will be using your Terminal. This is an application that lets you type commands directly to your computer. You can access it through any of these ways:
Using your 🔍 spotlight search (press ⌘+space then type “terminal”)
Or, you can find it using your computer’s launchpad
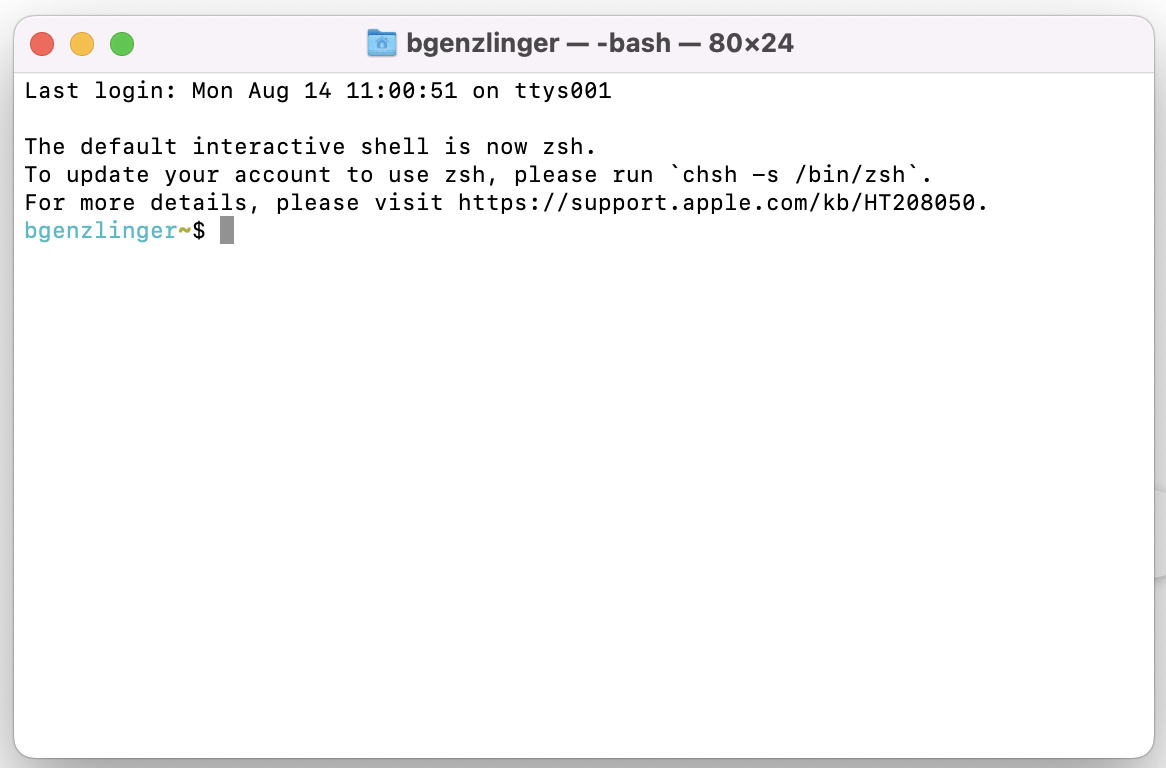
One you have it open, it should look something like this:
💻 Copy and paste the command below into your Terminal to install Xcode.
Then press Enter/Return. Make sure you have a strong internet connection, this may take up to 2 hours to complete. Don’t worry, you can still use your computer and have it running in the background.
xcode-select --install
💻 Enter your password when prompted.
You won’t see any letters appearing as you enter the password. This is a security feature.
👾 💬
If you already have this installed, you will see the following message instead:
xcode-select: error: command line tools are already installed, use "Software Update" to install updates
(0) Start by installing the latest version of Python.Open this link, click “Download Python,” and follow the installation instructions.
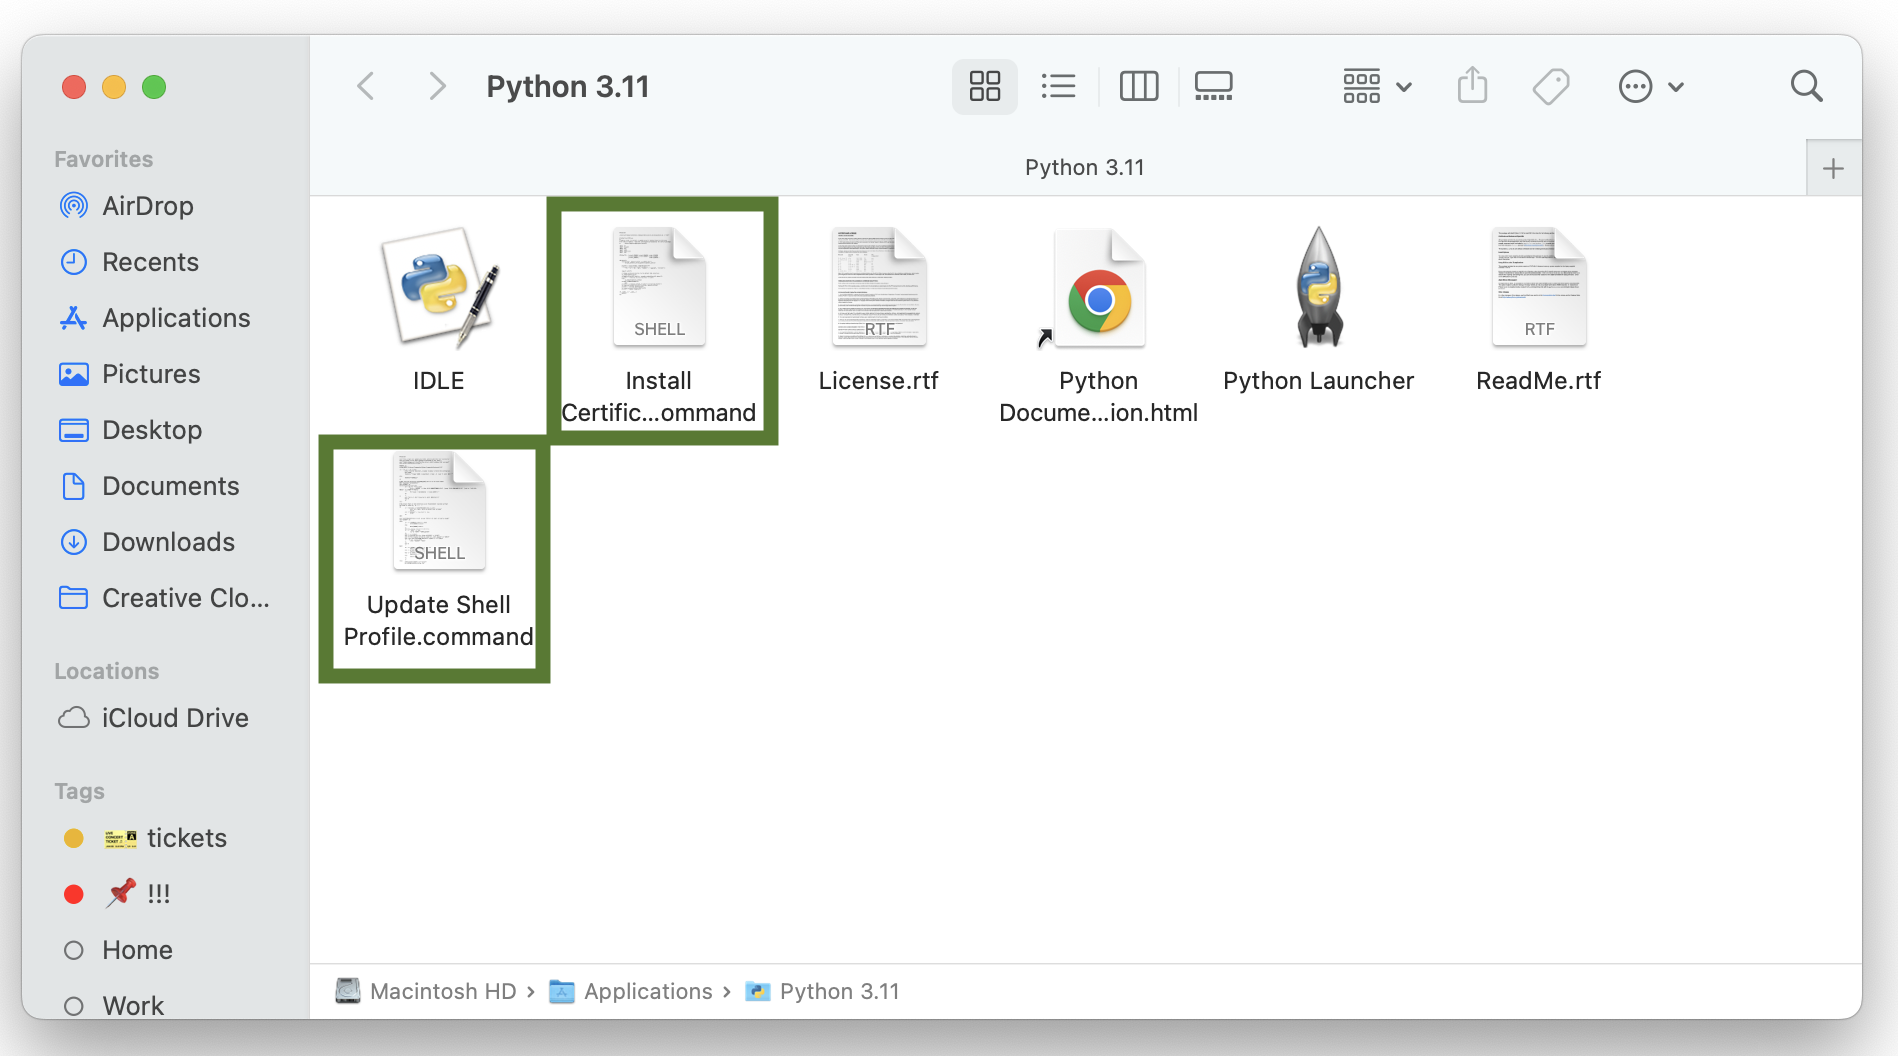
(1) Once the installation finishes, you will see a Finder window showing what was installed.
(If you closed the window, open Finder, click on “Applications,” and then “Python 3.13” (or whatever version of Python you just installed).
(2) Check Python installed successfully by typing python3 --version into the Terminal. You should see version number 3.13.
(3) Double-click on “Install Certificates.command”. This will will open a Terminal window and run a bunch of commands. Once you see [Process completed], you may close the window.
(4) Double-click on “Update Shell Profile.command”. Each of these will open a Terminal window and run a bunch of commands. Once you see [Process completed], you may close the window.
Homebrew helps you install different libraries and packages
💻 Run the below command to install homebrew.
This will install homebrew onto your computer. This may take up to an hour to complete. Don’t worry, you can still use your computer and have it running in the background. If you already have homebrew, then this step will be quick.
You may want to follow along with
this youtube video (watch 1:30 - 3:00)
Git is a tool for version control. It allows you to see the history of your code, and to collaborate with other people! It’s sort of like google docs for code.
💻 Make a Github Account
Go to
GitHub to register. Feel free to skip all the personalization steps.
Use your school email for your account, but please don’t use your id # as your username! Memorable usernames help your teachers keep track of who is who.
💻 Run this command in your terminal.
git --version
If you do not see a version number, it will automatically install git for you.
💻 Run each of these commands in your terminal to configure Git.
Make sure to replace your_name and your_school_email with your information.
git config --global user.name your_name
git config --global user.email your_school_email
💻 Run this command to install the Github CLI.
brew install gh
💻 Run this command to authorize.
This will take you through a few prompts to log in to your github account.
gh auth login
You will be asked the following questions to finish the authorization process. You should accept all the default highlighted options, which are:
“What account do you want to log into?” - GitHub.com
“What is your preferred protocol for Git operations?” - HTTPS
“Authenticate Git with your GitHub credentials?” - Yes
“How would you like to authenticate GitHub CLI?” - Log in with a web browser
If you are asked for your computer password, you won’t see any letters appear as you type. This is normal–it’s to keep the person standing behind you from seeing your password.
💻 When prompted, copy your code and press enter.
Then you can follow the prompts in your browser.
💻 Run this command to add a shortcut to easily open Github
💻 Close your Terminal window and open a new Terminal window.
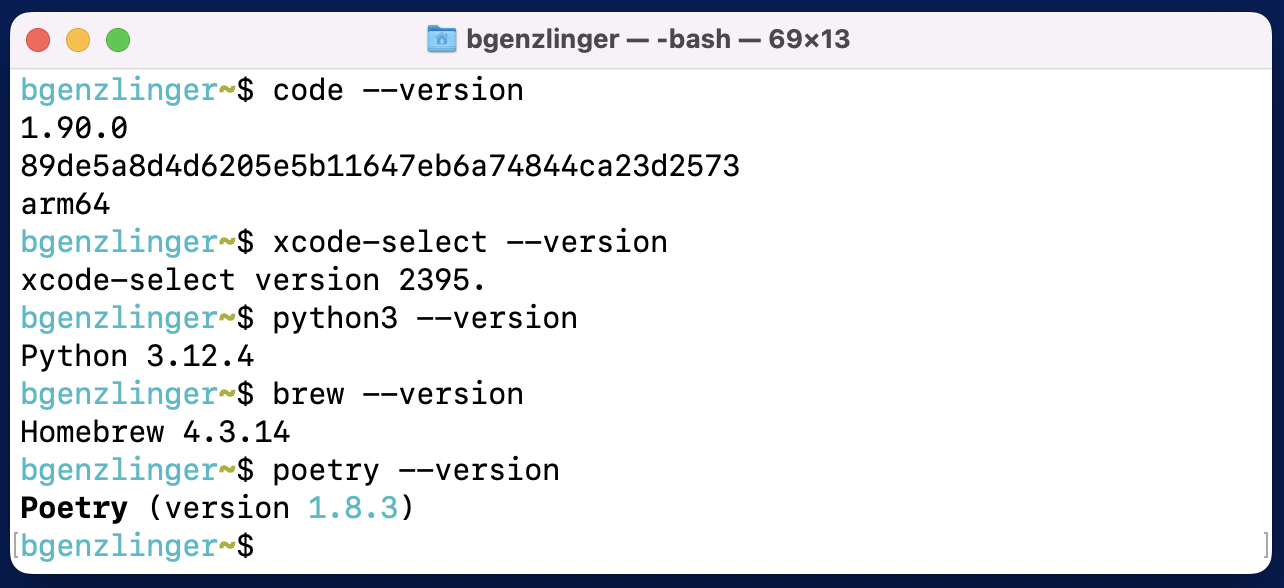
💻 Run each of the following checks one at a time to check your setup. If you do not see an version number, there was an error with the install. You can try to debug yourself by referencing the Debugging section below.
✔️ Checks Visual Studio Code
code --version
✔️ Checks Xcode
xcode-select --version
✔️ Checks Python
python3 --version
✔️ Checks Homebrew
brew --version
✔️ Checks Poetry
poetry --version
⚡✨ Fill out the Install Form
✅ Fill out this form to notify your teachers if your install was successfull or not:forms.gle/xSKm6Xv7G3NYQ4EF7
A successful setup will look something like below. It is okay if the version numbers do not match. This just means the package has been updated.